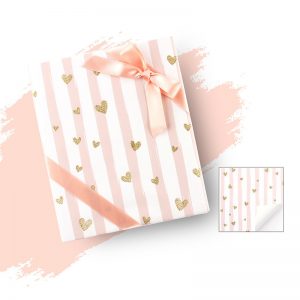
Creating DIY wrapping paper through printing is a fun and creative way to personalize your gift presentations. Here’s a step-by-step guide on how to make your own printed wrapping paper:
Materials Needed:
- Plain wrapping paper or large sheets of craft paper
- Printing materials (see options below)
- Acrylic or fabric paints (if hand-printing)
- Brushes or foam brushes (if hand-printing)
- Stencils or stamps (optional)
- Printing blocks (optional)
- Printing ink or fabric ink (if using blocks or stamps)
- Newspapers or protective covering for your workspace
- Palette or shallow dish (if using paint)
Steps for DIY Wrapping Paper Printing:
- Prepare Your Workspace: Lay down newspapers or a protective covering to prevent messes. Ensure you have enough space to spread out your paper for printing.
- Choose Your Printing Method:
- Hand-Printing: If you’re hand-printing, use acrylic or fabric paints and brushes or foam brushes to create your designs directly onto the wrapping paper. This method allows for more freedom and creativity in your designs.
- Stencils or Stamps: If you prefer a more controlled approach, use stencils or stamps to apply your designs onto the paper. You can purchase pre-made stencils or carve your own from foam sheets or linoleum blocks. For stamps, you can use rubber stamps or even create your own using carved potatoes or erasers.
- Printing Blocks: If you have printing blocks, apply printing ink or fabric ink onto the blocks and then press them onto the paper to transfer your designs.
- Plan Your Designs: Before you start printing, plan your designs and pattern layout. Consider the size of your gift and how the design will look when wrapped around it.
- Test Your Designs: If you’re using stencils, stamps, or printing blocks, do a few test prints on scrap paper to ensure the desired outcome and adjust as needed.
- Start Printing: Once you’re ready, begin printing your designs onto the wrapping paper. Take your time and work in sections if necessary. Allow each section to dry before moving on to the next.
- Add Details: If you’re hand-printing, you can add additional details or embellishments to your designs using brushes or fine-tip markers once the paint is dry.
- Let it Dry: After finishing the printing process, allow the wrapping paper to dry completely before wrapping your gifts.
- Wrap Your Gifts: Now that your DIY printed wrapping paper is ready, use it to wrap your gifts. Adorn them with ribbons, bows, or other decorative elements for a finished look.
Printing your own wrapping paper allows you to add a personal touch to your gifts and showcase your creativity. Whether you choose to hand-print, use stencils, stamps, or printing blocks, the result will be a unique and special wrapping paper that recipients will appreciate.


